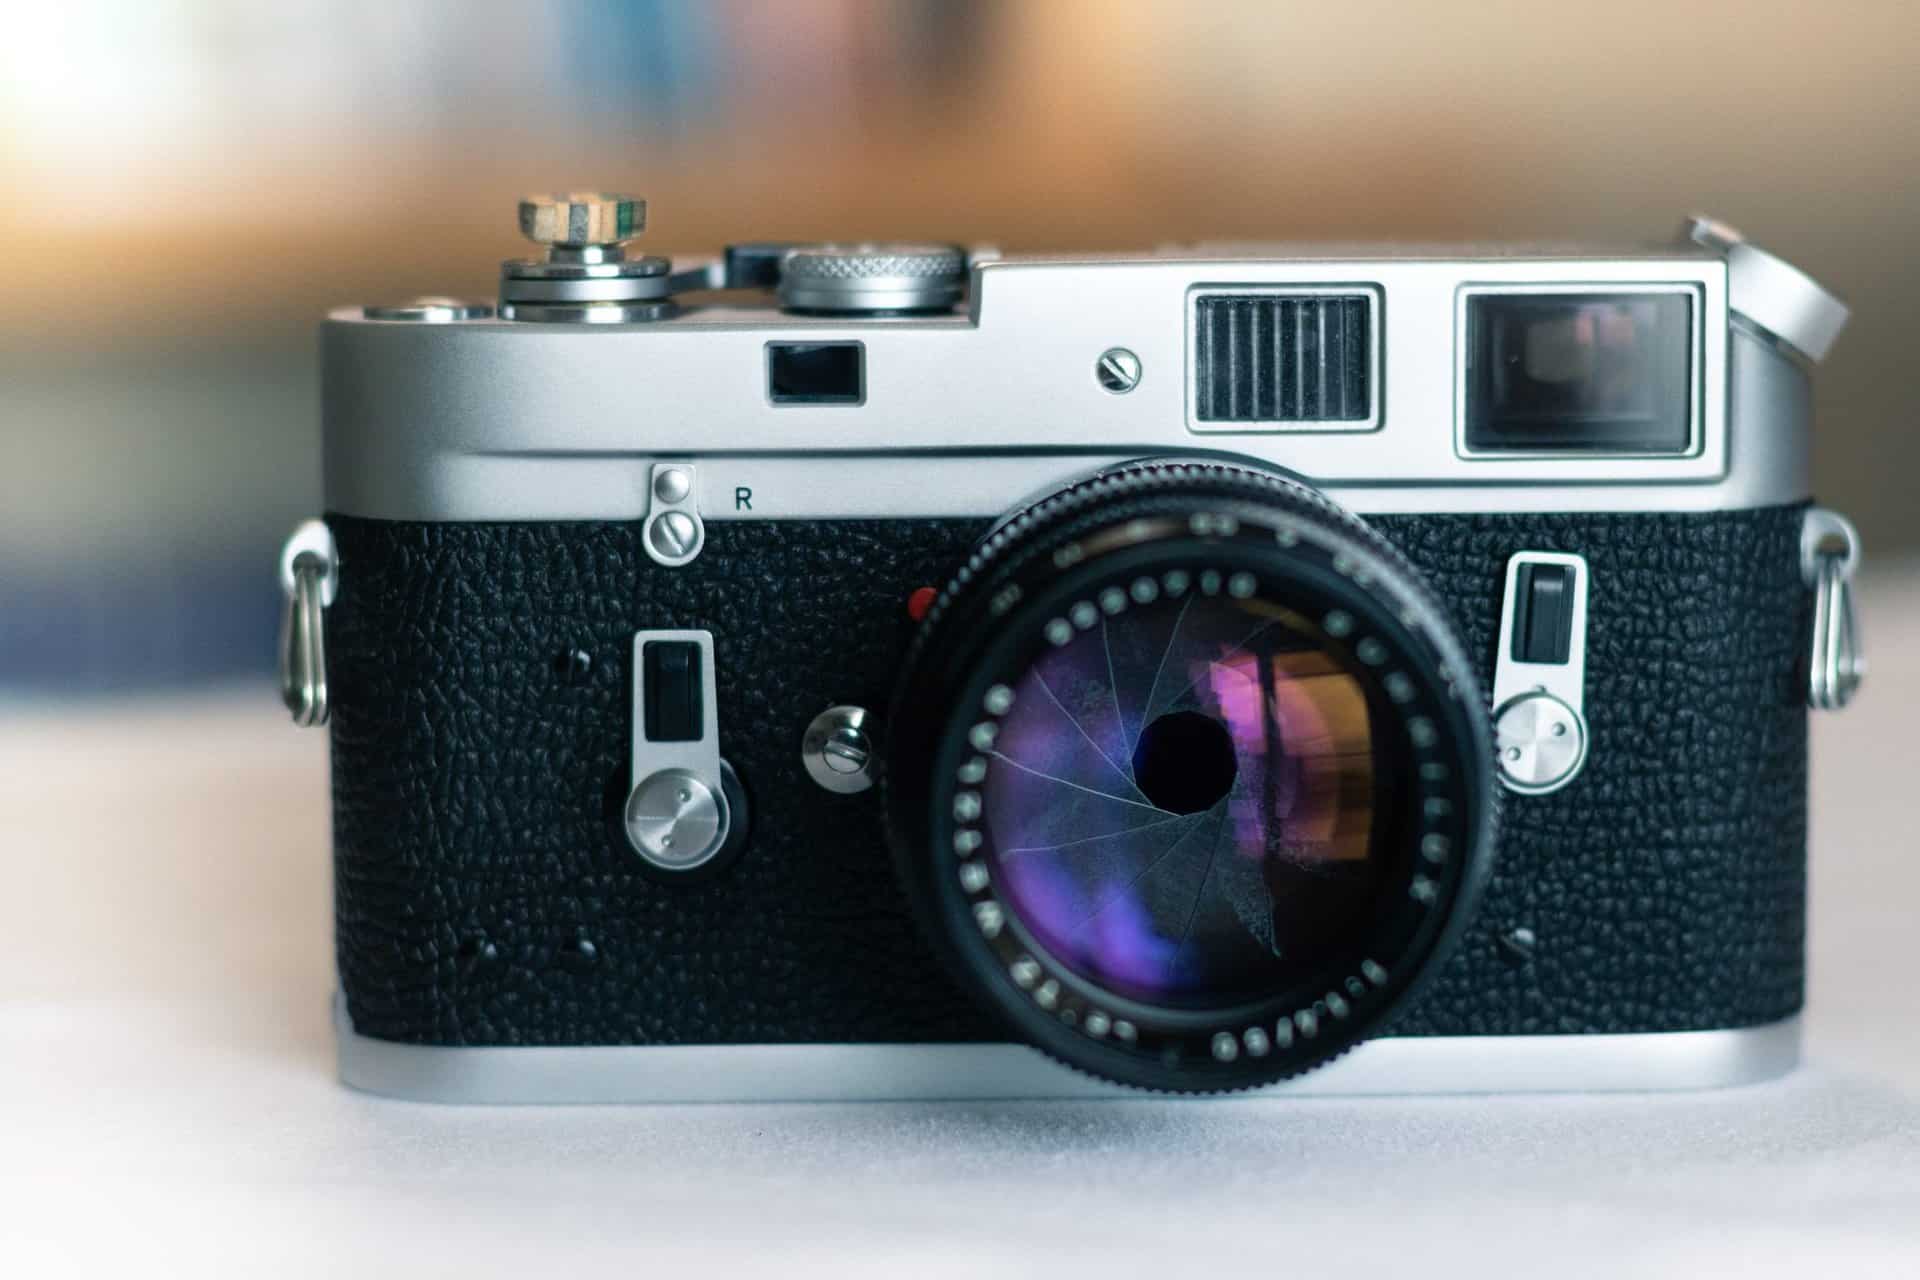
You’ve decided you want to try your hand at photography and have no idea where to start. You might have already bought yourself a fancy camera to explore this new skill. If you’ve invested your money into a great camera, you should consider shooting in manual mode if you’ve only been shooting in Auto. At Key West Video, we’re experts in photography, especially corporate photography, so we thought we’d put together a quick beginner’s guide to shooting in manual mode.
Manual Mode
Now you’re asking yourself, what is Manual mode? Manual mode gives you a whole load of creative freedom. It lets you control the white balance, aperture, shutter speed, and ISO. If these terms are confusing you, keep reading, and we’ll help define some of them.
White Balance
Sometimes when you look through the lens of a camera, the colours don’t look how they do in person. Adjusting the white balance helps tell the camera what the colour “white” is supposed to look like, thus helping the camera make all the other colours appear accurately.
Setting the white balance is relatively easy, and depending on your model of camera, it comes accompanied with pictures. To start, just select the temperature of light that is the closest match to your current setting.
Aperture
Aperture is measured by something called an f-stop. Aperture lets you know how small or wide the lens is opening up to let in light. The lower f-stop, the wider your lens. The larger the f-stop, the smaller the lens.
Aperture controls the depth of field. If you don’t know what we’re referring to think about pictures that have a blurrier background, this has a shallower depth of field. The aperture plays around with light to control how “in focus” various parts of the image are.
You’ll notice different aperture settings between landscape photography and portrait photography.
Shutter Speed
The shutter of the camera is a little window that closes and opens every time you take a picture. The shutter speed refers to the length of time that the window stays open.
Shutter speed can help with the brightness of the photo and freeze action in time or get a cool motion blur. The slower the shutter speed, the more motion blur you’ll have, the faster the shutter speed, the less motion blur you’ll have.
Take a sporting event, for example. If you want to capture that moment when someone crosses the finish line, having a faster shutter speed ensures you’ll catch that fast-paced moment perfectly. In the same sporting event, if you wanted to show how fast someone was moving, you may set a longer shutter speed to highlight the fact that they zipped past you.
ISO Sensitivity
ISO is an abbreviation for the International Organization of Standardization, but the founders shortened it to ISO, inspired by the Greek work “Isos” meaning equal.
In a camera, the ISO talks about the sensitivity of the sensor that captures light. The lower the ISO setting, the less light that the sensor will take into account. The higher the ISO, the more sensitive the sensor will be to the light.
ISO tends to increase the overall brightness of an image. However, it’s vital that you don’t raise the ISO too much since it can result in a grainer image.
Rule of Thirds
Now you have all the terms down, and you know what all these essential functions do. Now get shooting, but keep this one rule in mind—the rule of thirds. The rule of thirds acts as a guide to help ensure you place the subject of the image along one of the lines. The goal is to stay away from having your subject dead center.
What are you waiting for? We’ve covered the basics, and the best way to start learning is to get outside and start shooting! Tag @keywestvideo in your pics to get a chance to get featured in our story!


